

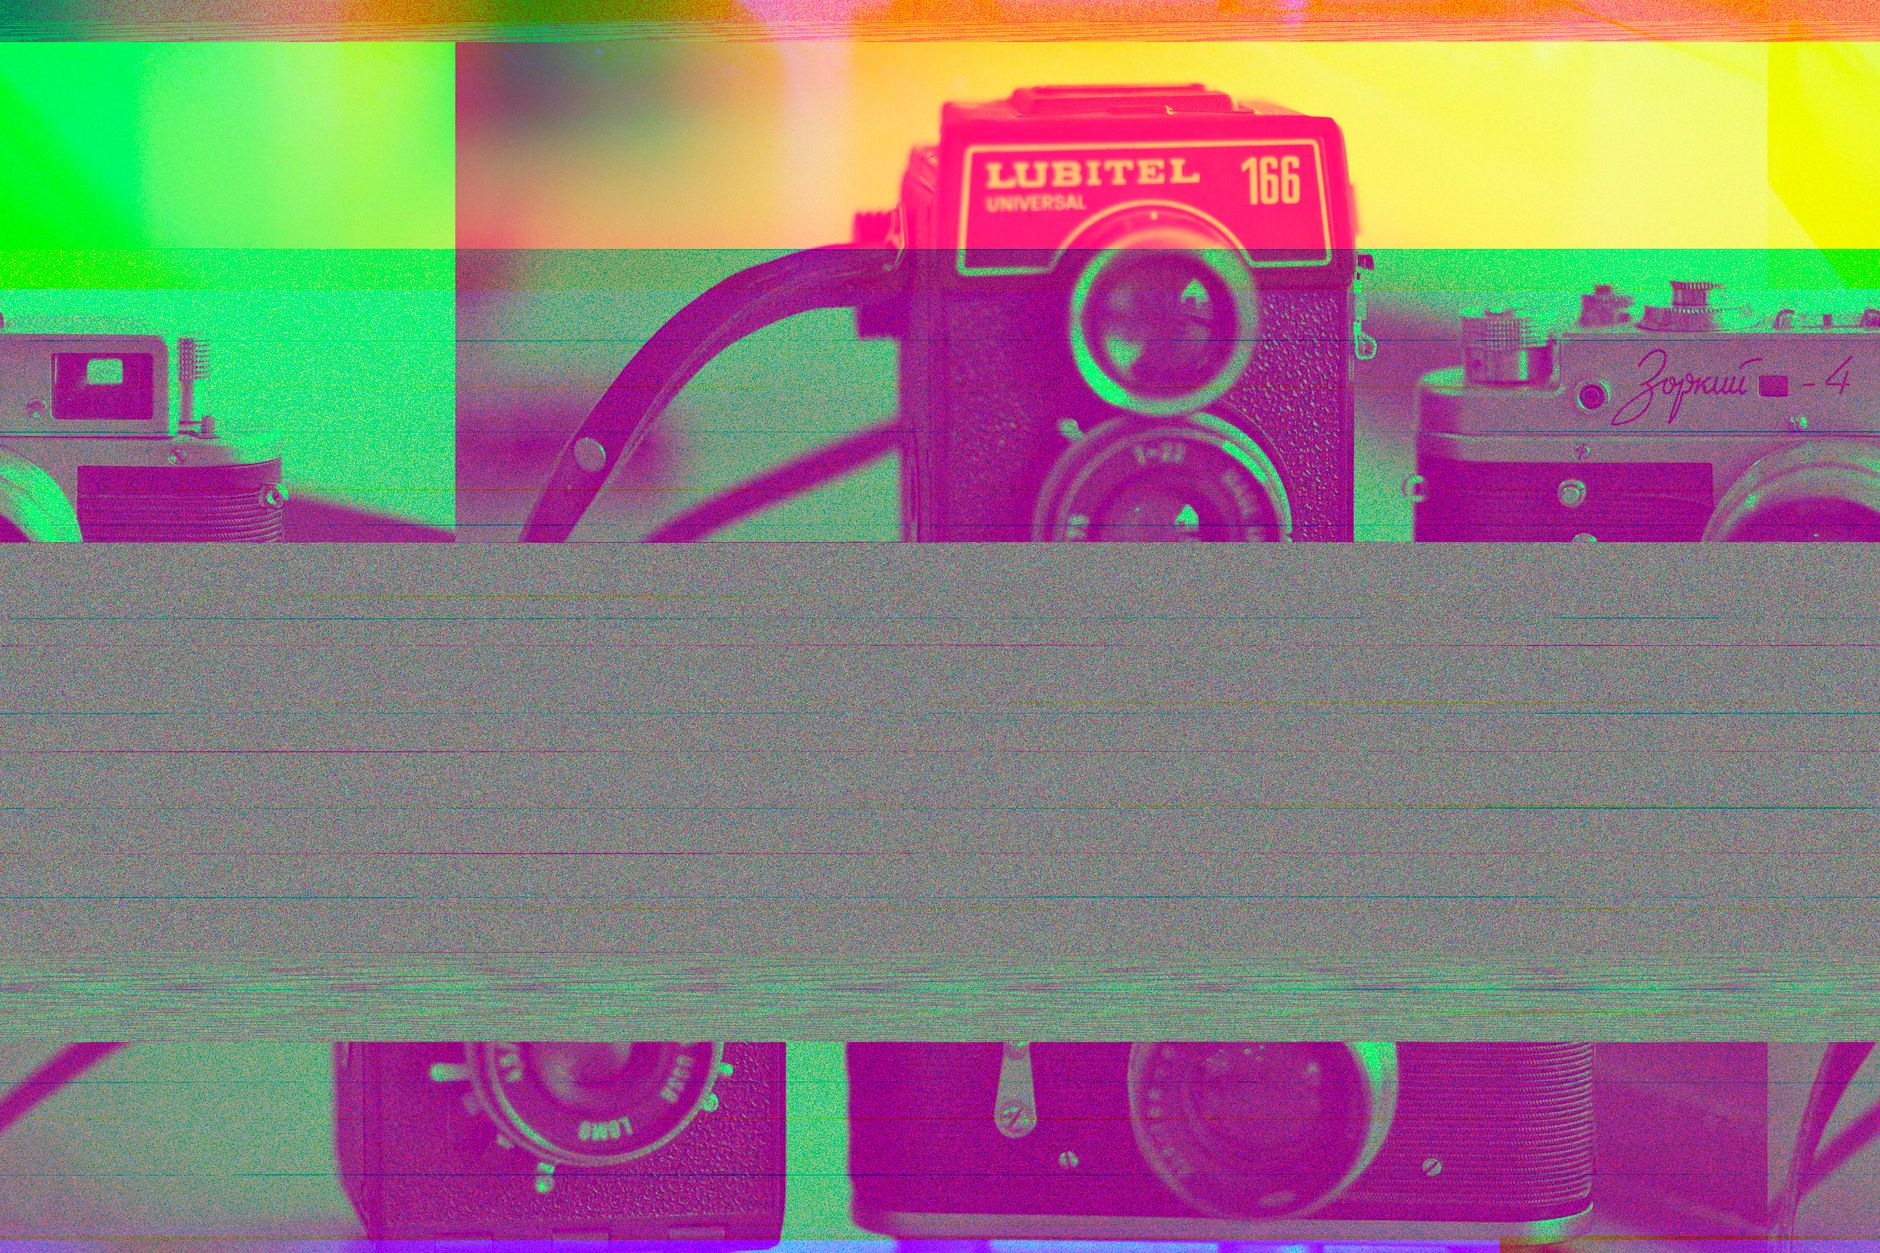
Achieving a retro vintage look in digital photography involves more than just applying a generic filter. It requires an understanding of how analog film behaves, how light interacts with chemical emulsions, and how colors shift over time. Digital sensors are designed for clinical precision, whereas vintage photography is defined by its imperfections. To bridge this gap, one must manipulate contrast, saturation, and texture to simulate the characteristics of classic film stocks.
Table of Contents
- Understanding the Anatomy of Vintage Photography
- Essential Adjustments for a Retro Aesthetic
- Comparison of Vintage Editing Techniques
- Strategic Color Grading for Film Emulation
- The Role of Light Leaks and Dust
- Common Mistakes to Avoid
- Frequently Asked Questions
- Final Reflections on Vintage Aesthetics
Understanding the Anatomy of Vintage Photography
Vintage aesthetics are built upon specific physical limitations inherent to older camera systems and film development processes. When editing, the goal is to replicate these limitations. Film grain, for example, is not merely noise; it is the physical structure of silver halide crystals reacting to light. In digital editing, adding grain should be done with a focus on size and uniformity to mimic specific film stocks like Kodak Portra or Fujifilm Velvia.
Color science also plays a significant role. Analog film often features a distinct color cast, where shadows might lean toward greens or blues, while highlights might shift toward warmer yellows or magentas. By adjusting the tone curves for individual color channels, editors can recreate the signature color palettes that defined mid-century photography.
Essential Adjustments for a Retro Aesthetic
The transformation from a modern digital image to a vintage-style photograph follows a structured workflow. Each step addresses a different aspect of the analog process.
Manipulating the Tone Curve
The tone curve is the most powerful tool for achieving a faded look. Instead of a pure black point, professional editors lift the bottom-left corner of the curve. This action effectively turns deep blacks into dark grays, creating the “washed-out” appearance typical of aged prints that have been exposed to light over several decades.
Controlling Saturation and Luminance
Digital photos often possess high, punchy saturation levels. Vintage photos, conversely, often feature muted primary colors. Reducing the saturation of specific colors—particularly blues and greens—while increasing their luminance can simulate the way older film stocks rendered natural landscapes.
Adding Texture and Grain
Grain adds a tactile quality to an image. When applying grain, it is important to apply it globally but with varying intensity. A subtle amount of grain helps break up the digital sharpness that often reveals a photo as modern. Pair this with a slight softening of the image—often achieved by reducing the “Clarity” or “Texture” sliders—to replicate the look of vintage lenses that lacked modern optical coatings.
Comparison of Vintage Editing Techniques
| Technique | Digital Effect | Analog Inspiration |
|---|---|---|
| Black Point Lift | Faded shadows, matte finish | Chemical degradation of old prints |
| Color Grading | Split toning in highlights/shadows | Cross-processing film stocks |
| Grain Overlay | Randomized noise pattern | Silver halide crystal density |
| Vignetting | Darkened corners | Simple lens construction limitations |
| Softening | Reduced contrast/clarity | Lack of modern lens element coating |
Strategic Color Grading for Film Emulation
Color grading is the process of altering the color balance of an image to evoke a specific mood or era. To emulate the 1970s, for instance, one should focus on warm, earthy tones. This involves shifting the midtones toward yellow and orange. Conversely, a 1990s aesthetic often leans toward cooler, slightly desaturated tones with a focus on high contrast.
Split toning allows for precise control. By introducing a subtle blue tint into the shadows and a warm gold tint into the highlights, the image gains a three-dimensional quality that feels organic rather than digital. Always monitor the skin tones during this process; excessive color shifts can make subjects appear unnatural. Using a reference image from an authentic vintage source can help maintain accuracy during this stage.
The Role of Light Leaks and Dust
Analog cameras were prone to physical damage and light leaks, which often resulted in unique artifacts. While these are technically flaws, they are central to the retro vintage look.
- Light Leaks: These occur when light enters the camera body through a faulty seal. In post-processing, these appear as streaks of orange, red, or yellow light. They should be applied sparingly to avoid overwhelming the composition.
- Dust and Scratches: Over time, film negatives accumulate dust and micro-scratches. Adding a subtle overlay of these elements can provide a sense of history. Ensure the scale of the dust is proportional to the resolution of the image to maintain realism.
Common Mistakes to Avoid
The most frequent error in retro editing is over-processing. A vintage look should enhance the subject, not distract from it. Avoid applying heavy-handed presets that flatten the entire image. Instead, treat every photo as an individual project.
Another mistake involves neglecting the composition. A retro filter cannot save a poorly composed photo. Ensure the leading lines, rule of thirds, and subject focus are strong before applying stylistic edits. Finally, remember that vintage photography was often limited by low dynamic range. If an image has too much detail in the shadows and highlights, it will look inherently modern. Clipping the highlights slightly can help replicate the limited dynamic range of film.
Frequently Asked Questions
Why do some vintage photos look more faded than others?
Fading is usually a result of chemical degradation or light exposure over time. In editing, this is simulated by lifting the black point and reducing overall contrast.
Is grain necessary for a vintage look?
Grain is highly recommended as it masks the clinical sharpness of modern digital sensors, which is the primary indicator that an image is not from the film era.
Can I achieve a vintage look with a smartphone?
Yes, smartphone editing applications offer the same tools as desktop software, including tone curves, HSL sliders, and grain settings, making the process accessible on mobile devices.
How do I keep skin tones looking natural while color grading?
Focus on the luminance of orange and red channels. Adjusting these specific colors allows for skin tone correction even when the rest of the image is heavily color-graded.
Should I use presets?
Presets are excellent starting points, but they should be customized. Every photo has different lighting conditions, meaning a one-size-fits-all preset will rarely yield the best results.
Final Reflections on Vintage Aesthetics
Editing for a retro vintage look is an exercise in balancing nostalgia with modern clarity. By focusing on the physical characteristics of film—such as the way it handles light in the shadows, the specific grain structure, and the way colors age—one can transform a sterile digital file into a piece that feels like it carries a history. The process requires patience and an eye for detail, particularly when balancing the intensity of color shifts and the placement of light leaks.
Success in this style is measured by how well the edit serves the subject matter. When the technical adjustments align with the mood of the photograph, the result is an image that feels timeless. As trends in photography continue to cycle, the appreciation for the aesthetic qualities of the analog past remains a constant, providing a bridge between the precision of today and the artistic warmth of yesterday. Continue experimenting with different combinations of curves and color settings to develop a signature style that respects the roots of traditional photography.
Frequently Asked Questions (FAQ)
Q: What is the difference between vintage and retro design?
A: “Vintage” generally refers to authentic items that are at least 20 to 100 years old, representing the era they were made. “Retro” refers to modern designs that imitate styles of the past.
Q: Why is mid-century modern design still popular today?
A: Mid-century modern design remains highly popular due to its emphasis on clean lines, organic curves, structural functionality, and timeless integration of indoor and outdoor living spaces.
Q: How can I integrate vintage collectibles into a modern home?
A: You can integrate vintage items by using them as accent statement pieces, blending them with neutral modern palettes, or repurposing old items (like retro radios) as functional decor.


1 Comment
Pingback: Echoes of the Past: Mastering Nostalgic Photography Techniques That Tell Stories – Anemoia