

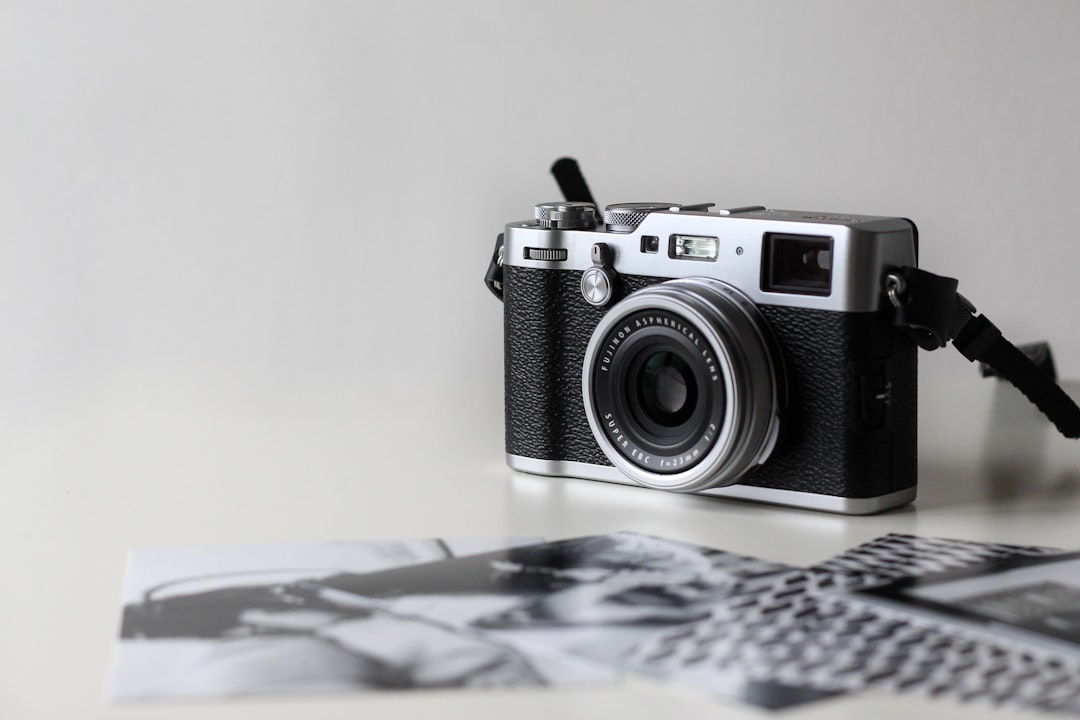
For more than a century, optical physicists and chemical engineers at Eastman Kodak, Fujifilm, Agfa, and Ilford waged an unrelenting scientific battle against film grain. Massive research budgets were poured into developing smaller, flatter tabular silver crystals designed to deliver ultra-clean, microscopically sharp negatives. Yet ironically, in our contemporary photography landscape-dominated by sterile 45-megapixel CMOS sensors, algorithmic noise-reduction pipelines, and hyper-clinical modern glass-photographers and cinematographers are fiercely fighting to put the grain back. Film grain is not an unwanted flaw; it is a foundational creative asset. It imparts depth, tangible physical weight, dimensional atmosphere, and emotional soul to two-dimensional digital pixels. In this comprehensive technical guide, we examine the molecular chemistry of silver halide crystals, explain why digital sensor noise behaves fundamentally differently from optical grain, and provide practical workflows for emulating authentic vintage film textures on modern digital cameras.
Table of Contents
- 1. The Molecular Chemistry of Silver Halide Emulsions
- 2. Classic Cubic Grain vs. Modern Tabular (T-Grain)
- 3. Film Grain vs. Digital Sensor Noise: Crucial Distinctions
- 4. Comparison of Legendary Film Stocks and Grain Profiles
- 5. Recreating Authentic Film Grain in Adobe Lightroom
- 6. The Professional Photoshop 50% Gray Overlay Technique
- 7. Simulating Film Halation and Optical Bloom
- 8. Frequently Asked Questions
- 9. Embracing Imperfection in a Hyper-Digital Age
1. The Molecular Chemistry of Silver Halide Emulsions
To recreate film grain convincingly, one must understand how it forms in physical reality. Photographic film is composed of a flexible acetate or polyester base coated with a gelatin emulsion containing billions of microscopic silver halide crystals (silver bromide, silver chloride, and silver iodide). When photons of light pass through the camera lens and strike these crystals, a latent image is formed at sub-microscopic sensitivity specks.
During chemical darkroom development, a reducing agent converts exposed silver halide crystals into clumps of pure metallic silver filaments. What the human eye perceives as “film grain” is not individual silver atoms, but rather the three-dimensional, randomized optical clustering of these metallic filaments suspended within the gelatin layer. Because crystals vary naturally in size and depth, the grain pattern is completely non-linear and mathematically chaotic.
2. Classic Cubic Grain vs. Modern Tabular (T-Grain)
In the history of photographic manufacturing, two distinct crystal architectures emerged, each producing a radically different aesthetic personality:
- Classic Cubic Grain (Traditional Emulsions): Exemplified by legendary black-and-white stocks like Kodak Tri-X 400 and Ilford HP5 Plus. Crystals are irregular three-dimensional pebbles. When developed, they create a gritty, organic, tactile texture with prominent grit in midtones and deep shadows, prized for street photography and documentary realism.
- Tabular Grain / T-Grain (Epitaxial Emulsions): Introduced by Kodak in the 1980s (Kodak T-Max 100/400) and Ilford (Delta 100/400/3200). Chemists flattened silver crystals into thin tabular plates, maximizing their light-gathering surface area relative to their volume. This yielded razor-sharp resolution and extremely fine, uniform, tight grain structures favored for commercial fashion and architectural landscape work.
3. Film Grain vs. Digital Sensor Noise: Crucial Distinctions
Many novice photographers conflate film grain with digital camera sensor noise, yet the two phenomena share almost no physical or aesthetic similarities. Digital noise occurs when a camera’s analog-to-digital converter (ADC) amplifies weak electrical signals at high ISO settings, capturing sensor heat and photon shot noise. This generates two digital artifacts:
- Chrominance Noise: Unnatural red, green, and blue pixels scattered across dark zones-an electronic aberration universally reviled for ruining color fidelity.
- Luminance Grid Noise: Monochromatic speckles that align strictly to the rigid grid pattern of the sensor’s pixel photosites, giving images a synthetic, digitized harshness.
In contrast, analog film grain contains zero chrominance noise. Even in color films (C-41 process), the metallic silver is completely bleached away during laboratory processing, leaving behind microscopic dye clouds. These dye clouds blend smoothly into adjacent photographic details, gently softening harsh edges and creating the illusion of higher organic sharpness without digital pixelation.
4. Comparison of Legendary Film Stocks and Grain Profiles
Understanding the visual behavior of iconic film stocks is crucial for dialing in accurate digital emulations.
| Film Stock | Chemistry / Process | ISO Speed | Grain Structure & Texture | Signature Aesthetic & Usage |
|---|---|---|---|---|
| Kodak Tri-X 400 | Traditional B&W | 400 (Pushable to 1600) | Bold, gritty, high-contrast cubic | Classic documentary, street, photojournalism |
| Kodak Portra 400 | Color Negative (C-41) | 400 | Extremely fine, creamy micro-dye clouds | Warm skin tones, editorial portraits, lifestyle |
| Kodak Ektar 100 | Color Negative (C-41) | 100 | Microscopic, virtually grainless | Vivid saturation, commercial landscapes |
| Ilford Delta 3200 | Tabular B&W (T-Grain) | 3200 (EI 1600-6400) | Atmospheric, painterly, heavy grit | Low-light jazz clubs, concert hall mood |
| CineStill 800T | Tungsten Cinema Stock | 800 | Fine cinema grain with red halation | Nocturnal neon cityscapes, retro cinematic look |
| Fujifilm Superia 400 | Color Negative (C-41) | 400 | Crisp, cool-toned medium grain | Everyday snapshot nostalgia, rich emerald greens |
5. Recreating Authentic Film Grain in Adobe Lightroom
The standard Adobe Lightroom Grain module features three critical sliders: Amount, Size, and Roughness. Most digital photographers fail because they simply crank the Amount slider, resulting in a cheap sandpaper appearance. To achieve convincing optical grain, use these calibrated starting formulas:
- Fine Daylight Portrait (Kodak Portra 160 Emulation): Amount: 22 | Size: 25 | Roughness: 35. This introduces subtle micro-texture without compromising delicate facial skin details.
- Vintage 1970s Snapshot (Kodak Gold 200 Emulation): Amount: 38 | Size: 38 | Roughness: 48. Provides a warm, casual, memory-infused texture ideal for golden-hour street photography.
- High-Contrast Documentary Grit (Kodak Tri-X Push Emulation): Amount: 55 | Size: 52 | Roughness: 68. Generates heavy, expressive cubic clumps that bite into shadows and deep midtones.
6. The Professional Photoshop 50% Gray Overlay Technique
For maximum artistic control, professional retouchers eschew procedural sliders in favor of non-destructive 50% neutral gray noise layers:
- Open your developed image in Adobe Photoshop.
- Create a new blank layer above your photograph (Ctrl/Cmd + Shift + N). Name it “Film Grain”.
- Set the Layer Blending Mode to Overlay (or Soft Light for subtler effect).
- Check the box: “Fill with Overlay-neutral color (50% gray)” and click OK.
- With the gray layer selected, navigate to Filter > Noise > Add Noise. Choose Gaussian distribution, check “Monochromatic”, and set the amount between 8% and 15%.
- Navigate to Filter > Blur > Gaussian Blur and apply a tiny 0.4 to 0.7 pixel radius. This softens the mathematical digital pixel edges into natural, organic clumps.
- Finally, double-click the layer to open Layer Style / Blending Options. In the “Blend If: Underlying Layer” sliders, split the shadow and highlight triangles (holding Alt/Option) to gently taper grain out of pure specular whites and deep blacks, replicating genuine emulsion physics.
7. Simulating Film Halation and Optical Bloom
Authentic vintage film photographs rarely display grain in isolation; they exhibit halation. In motion picture stocks like CineStill 800T, the dark carbon backing (the “remjet” layer) is chemically removed. Consequently, intense highlight photons pass entirely through the film emulsion, strike the camera’s pressure plate, and bounce backward into the red-sensitive emulsion layer.
This creates a distinct reddish-orange glow or “bloom” along high-contrast borders-such as neon signs, street lamps, and rim-lit hair. To recreate this digitally in Photoshop: duplicate your base image, apply a high threshold filter to isolate only the brightest specular highlights, blur that layer with a 15-pixel Gaussian Blur, tint the highlights warm vermillion-red with Hue/Saturation, and blend the layer using “Screen” or “Lighten” mode at 40% opacity.
8. Frequently Asked Questions
Does adding film grain degrade image sharpness?
Technically, physical grain replaces microscopic pixel acutance with organic silver clusters. However, human visual perception interprets subtle grain texture as “acutance,” making photographs feel richer, more dimensional, and more natural than plastic, over-sharpened digital images.
Should I apply digital noise reduction before adding film grain?
Yes! Always eliminate digital chrominance (color) noise and harsh digital luminance noise in RAW development first. Once you have a clean base canvas, you can apply organic, monochromatic film grain overlay layers non-destructively.
Why does film grain look different in shadows compared to highlights?
In negative film emulsions, shadows correspond to areas where fewer photons hit the film, resulting in sparse silver deposits. Highlights correspond to dense silver clumping. Accurate grain emulation should always taper off in extreme highlight zones and settle primarily in the midtones.
What are scanned film grain overlays and are they better than software filters?
Scanned overlays are high-resolution digital scans of unexposed, developed physical film stocks (like Kodak 5219 or Tri-X). Blending a genuine film scan over your digital photo provides 100% authentic analog physics, as the grain was generated by real chemical crystals rather than computer algorithms.
Why do vintage lenses enhance film grain emulation?
Vintage lenses (like the Helios 44-2, Canon FD, or Pentax Super-Takumar) possess optical aberrations, spherical softness, and warm coatings that naturally soften digital clinical sharpness, creating an organic optical bed that blends harmoniously with simulated grain.
Is grain more noticeable on 35mm or medium format film?
Grain is significantly more noticeable on 35mm film because the small 24x36mm negative must be magnified substantially to produce a large print. Medium format (6×7 cm) and large format (4×5 inch) negatives require much less enlargement, resulting in silky, virtually invisible grain.
Can I add film grain to smartphone photos?
Yes. Mobile editing suites like VSCO, Lightroom Mobile, and Snapseed allow you to introduce film grain to smartphone photos, which effectively hides heavy computational noise reduction and plastic skin smoothing.
9. Embracing Imperfection in a Hyper-Digital Age
The contemporary obsession with film grain is fundamentally a cultural declaration: human experience is imperfect, tactile, and sensory. Ultra-clean digital perfection can feel cold and detached. By understanding the physics of photographic emulsions and thoughtfully integrating organic grain, halation, and vintage color science into your modern digital photography, you bridge the gap between technical mastery and emotional storytelling. Let your images breathe with texture and character.

